
ADDING ICONS TO A WEBSITE
Article by: Iulian Lates
INTRO
A while back we were using fontawesome.com, a open source web font that allowed us to easy place icons on our websites but they have updated their website and now we can only have 10.000 views a month per kit/script, meaning that if you place your fontawesome.com kit on more than one website, chances are that the font will disappear if the websites that you have your kit on will surpass that 10.000 views per month. To avoid having icons disappear from our client's websites it is better to use custom icon fonts that we can upload on our websites.
I am going to explain exactly how you can do this for fontawesome.com but please take note that through this method you can add as many icon fonts as you want on your website and as a bonus, the icons won't disappear when clicking the text widget.
Downloading the font and uploading it to DUda
The first step is to go to THIS link and on the left side you should see a font version for desktop, right now it looks like this but depending on when you are reading this, the website might look a bit different.
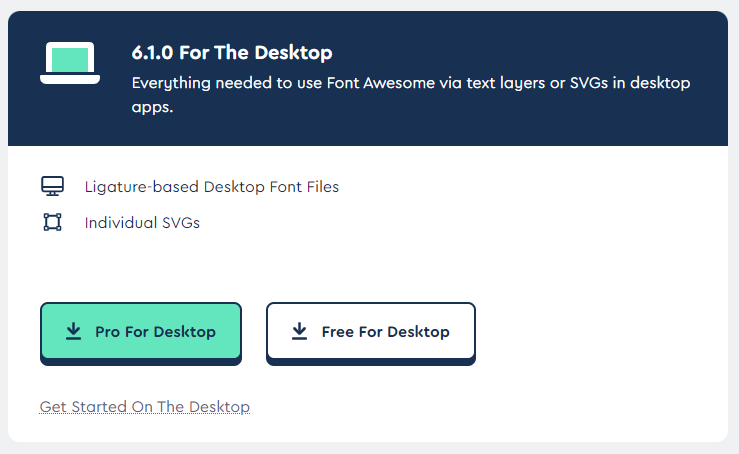
Figure 1
After you download the font, extract it and go to the website you want to use your fonts on. Click on Design>Global Text>Upload a new font (There should be a small icon on the left of your chosen font that has an "A+" on it). Go to "Custom Fonts" on the right side of "Google Fonts" and click on "Upload Fonts" button. Navigate to the location where you have downloaded the font and open up the "otfs" folder where all the fonts will be placed, select all of them and then click "open".

Figure 2
Using The Icons
You will have to open up the fontawesome.com website and search for an icon, let's search for "phone" (make sure to only select free for use icons as it won't work otherwise unless you have bought the font), open up the icon and you should see the following:

Figure 4
As you can see there is an icon that when you hover on it says "copy glyph", click on it and then go to where you want to place this icon.

Figure 5
I have placed it in front of the phone number but as you can see, right now is just a square or an unrecognized symbol for the font that you are currently using (figure 5). You will have to only select that symbol and search for "font awesome". You will have 3 options: Brands-Regular, Free-Regular, Free-Solid. In the previous screenshot (figure 4) you can see each type of icon ( Solid, Regular, Light, Thin, Duotone ) that explains what you should chose here, since our phone icon is solid, I will select "Free-Solid" font from the text widget.
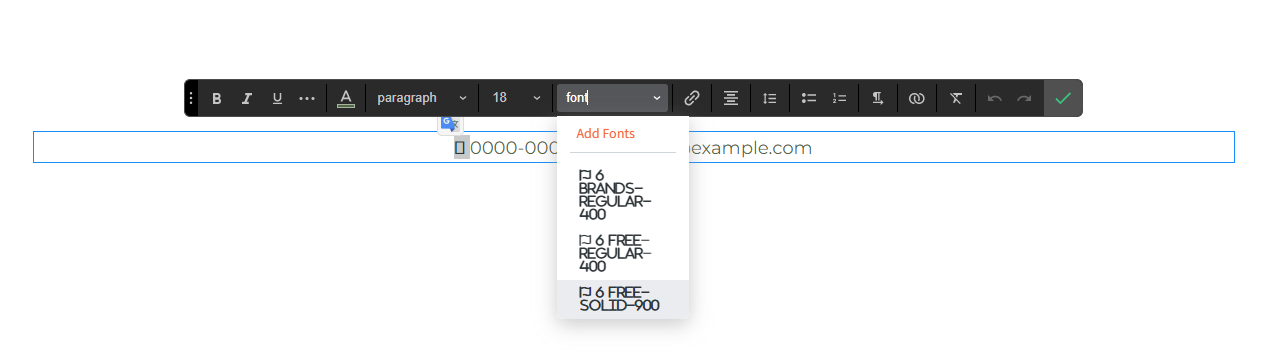
Figure 6
Finally you will get an icon which you can customize from the text widget, you can change the color, the size, the weight, etc.

Figure 7
More Fonts
With this method you can also use other fonts, here is a list I have found through a quick search on google The 50 Best Free Icon Fonts for UI Design